

How.to Take Apart A Fender Squire Potentiometer And Repair The Knobs
Introduction
Teardown of electrical guitar
-
-
Pull off the 3 tone/volume caps.
-
-
-
Pull off the end cap on the pickup selector.
-
Note: This is non how the switch should normally wait. This i is bent slightly; the tip should be pointing straight up.
-
-
-
Unscrew the three bolts holding the tone/volume potentiometers to the scratch plate.
-
-
-
Remove the 3 washers from the tone/volume potentiometers
-
-
-
Unscrew the viii screws which hold the choice guard to the main torso.
-
-
-
Unscrew the two screws property the pickup selector in place.
-
-
-
unscrew the vi screws property the 3 pickups in place.
-
-
-
Lift off the scratch plate, revealing the electronics inside the main body
-
-
-
Some other method of dis-assembly: remove the pickguard screws (leaving pickup screws, pots and switch untouched).
-
Remove the jack plate, desolder or cutting the output jack wires, flip over the guitar and desolder the ground wire on the tremolo. Remove the pickguard with all electronics attached.
-
This method gives piece of cake admission to do electronics repairs/mods, without having to readjust pickup heights and individual components won't move around when you're soldering.
-
-
-
Elevator off the 3 pickup covers.
-
-
-
Remove the springs which were on the underside of the pickups.
-
-
-
Unscrew the ii screws holding the atomic number 82 input comprehend in place and lift off the embrace.
-
-
-
Unscrew the input threaded commodities, which holds the output jack in identify.
-
-
-
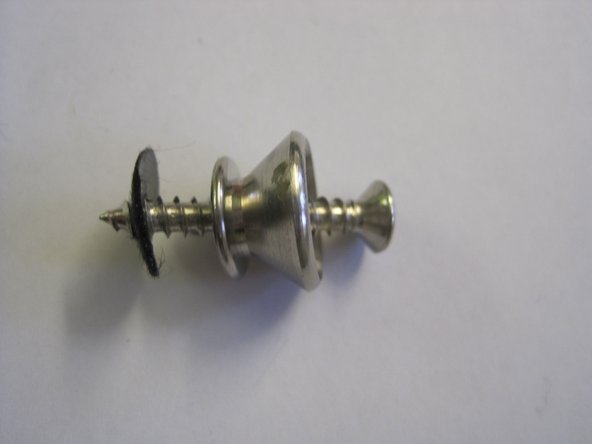
Unscrew the screw holding the bottom strap button in position.
-
-
-
Bear out the same process to remove the top strap button.
-
-
-
Remove the six screws securing the bridge to the body.
-
-
-
Take out the six screws belongings the white back plate in identify.
-
-
-
Remove the iii tremolo springs from the spring claw and tremolo block.
-
-
-
Unscrew the ii screws holding the bound claw to the body.
-
-
-
Remove Span from main body.
-
-
-
Unscrew chrome parts.
-
-
-
Undo the 6 screws holding the saddles to the span. Then remove the bound and unscrew the 12 threaded confined.
-
-
-
Unscrew bridge from the tremolo block.
-
-
-
Remove the 4 woods screws property the neck to the torso of the guitar.
-
-
-
Pull cervix away from main trunk.
-
-
-
Unscrew the two pocket-size screws securing the string trees to the headstock.
-
-
-
Unscrew the tuner bushings with a 10mm hex driver
-
-
-
Push the tuners from the front end to popular them loose. It make take a fleck of force if the alignment peg is stuck. Some utilise screws instead.
-
-
-
Remove the tension spiral followed by the tuner push button, metal and then fiber washer.
-


Embed this guide
Choose a size and re-create the code beneath to embed this guide as a pocket-size widget on your site / forum.
Preview

How.to Take Apart A Fender Squire Potentiometer And Repair The Knobs,
Source: https://www.ifixit.com/Teardown/Squier+Strat+Guitar+Teardown/2070
Posted by: mcalisterandister.blogspot.com
0 Response to "How.to Take Apart A Fender Squire Potentiometer And Repair The Knobs"
Post a Comment